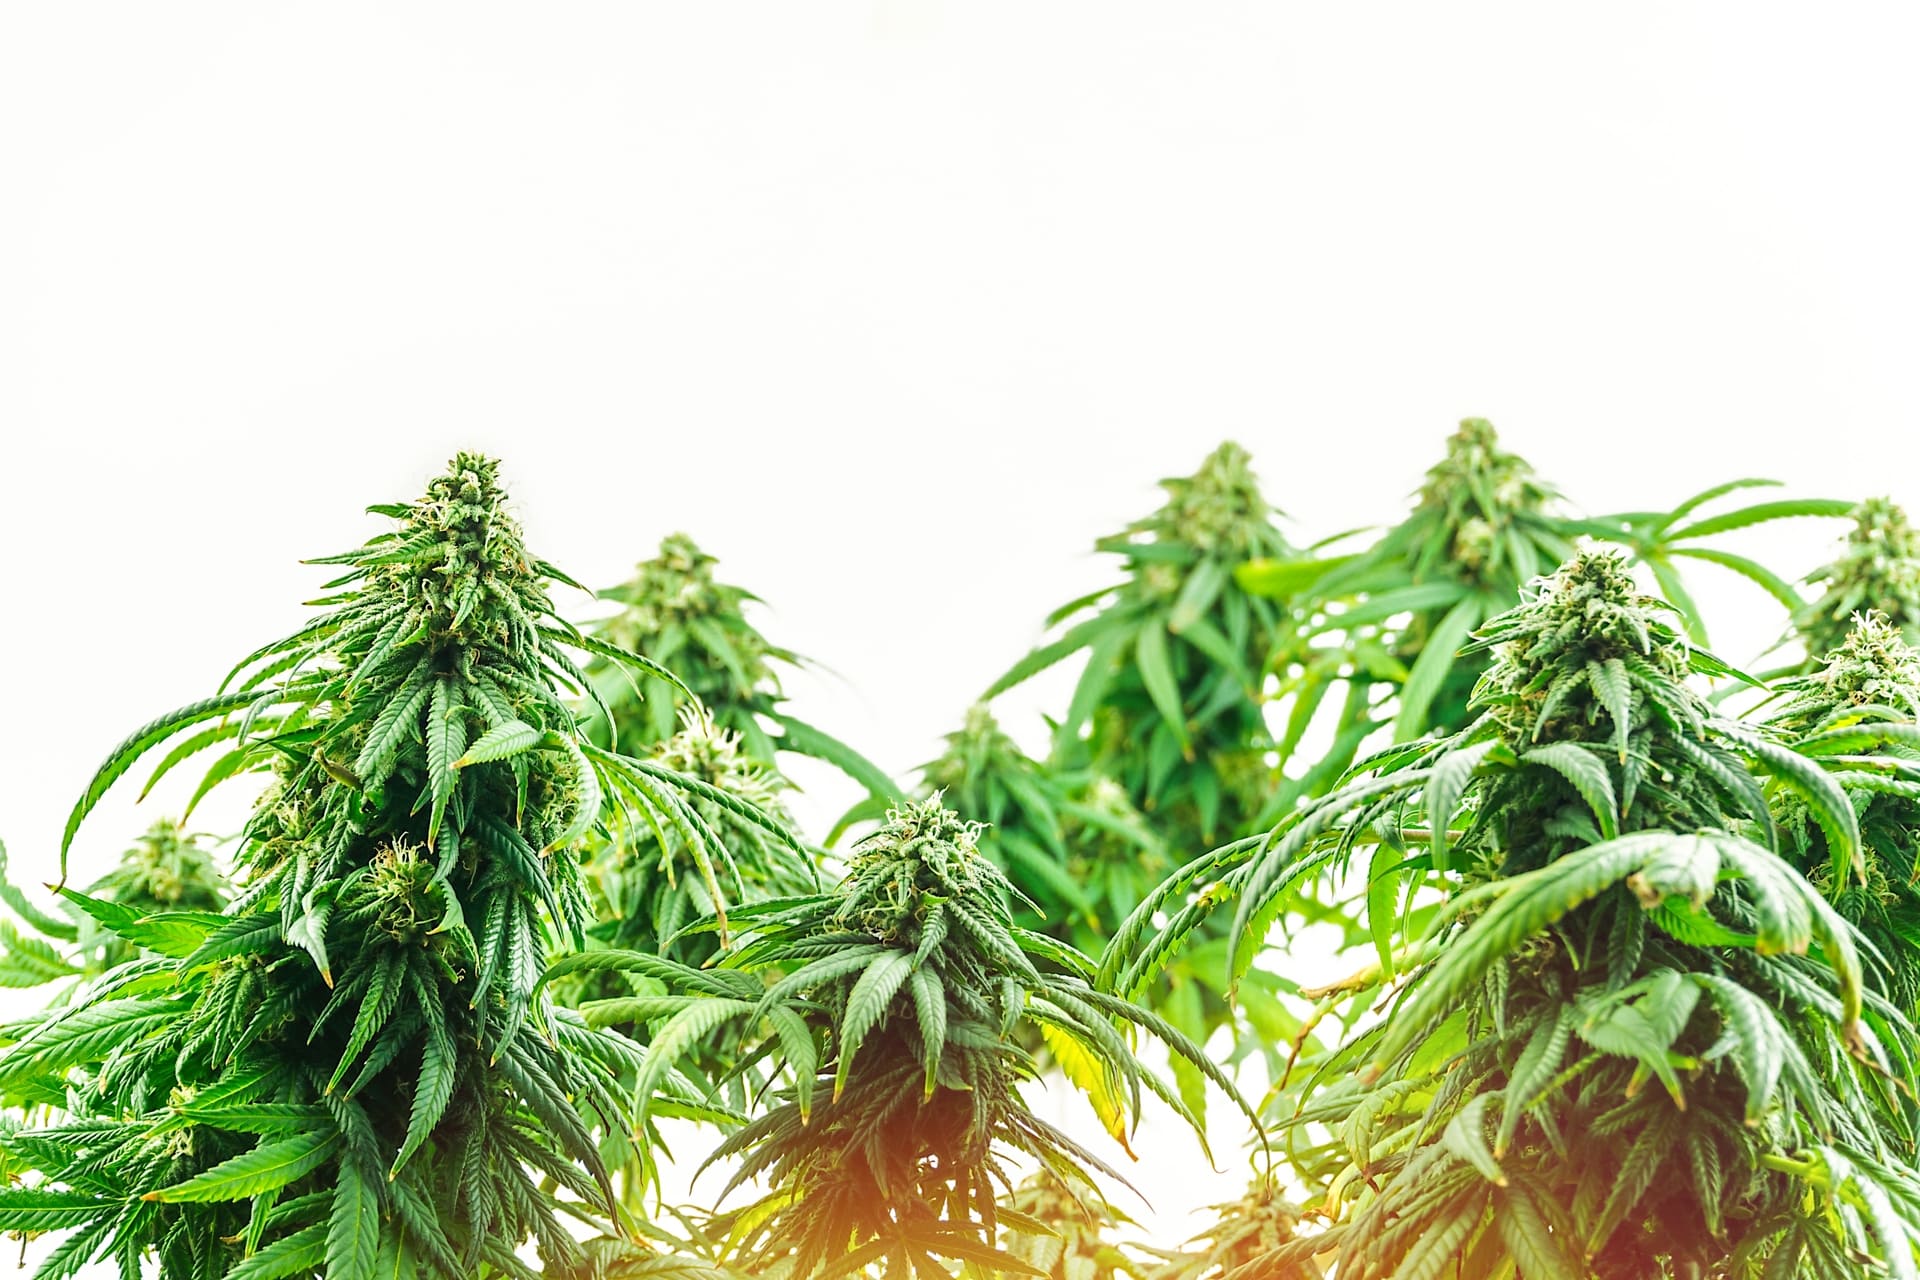
Growing Cannabis by yourself has added value, not only are you able to witness the stages of your plants growth and see your buds bloom, it also generates significant savings and allows you the option to grow in a natural, pesticide-free environment.
If you are growing for the first time, start by choosing the strains (plant variety) you would like to harvest – Sativa, Indica or Hybrid. Sativa species have stimulating properties that give you energy, aid with creativity, improve concentration and have antidepressant qualities. Indica provides benefits such as relaxation, anxiety reduction, pain relief and help with falling asleep. THC is psychoactive unlike CBD, which makes the latter ideal for making medicinal oils and tinctures.
Once you have chosen the type of plant, it is time to acquire your seeds. Cannabis seeds are naturally male or female. The male plants only produce seeds and have no recreational or medicinal use. The female plants have no seeds and instead give us buds (flowers), odorous and filled with resin, where the cannabis alkaloids are concentrated. To grow female plants, you don’t have to wait for it to grow to see what you planted, instead you can acquire feminized seeds that give you a 95% chance of growing females. Another option is planting autoflowering seeds which are very similar to feminized seeds but the plants they produce have the added benefit of not depending on light cycles to flower.
Beginning to grow cannabis is not difficult but it does require time and attention.
Once you have acquired the seeds of your preference, the next step is to germinate them. A good option is to use special germinators based on coconut fiber that only require you to add water and put your seed inside. Another option is to plant the seed directly in the substrate or put them on a wet napkin. Once it germinates you need to wait until it has grown between 3 and 5 cm tall to transplant it into the next container. It is not recommended to transplant many times, the ideal is to go from the initial germinating container to the final pot. For this, use buckets or containers with about 20 liter capacity (5 gallons), enough space for good rooting. Now the vegetative stage begins. Water abundantly in the beginning stage, maintain humidity, do not add fertilizer before the third week and once you do, do it gradually.
Now it is time to look for the ideal place for our plant. A garden or terrace, a balcony or a window, a space in a room – everything works! Just be aware that the less natural light the plant receives, the more you will need to supplement with artificial lighting, an expense to consider if you decide to grow indoors or in grow tents.
Your work now is to give the plant enough light for good development and growth. If growing outdoors your plants should be in direct sunlight for as much time as possible. If growing indoors, between 12-18 hours of light should be enough for healthy development. Once the plant reaches between 50 and 60 centimeters, you can begin the scrogging technique.
Pre-flowering and flowering period.
In the pre-flowering period you must be very attentive to the growth of the plants to differentiate if you have been growing females or males. If you find a male you must remove it otherwise it can pollinate the females, causing the buds to lose strength and produce seeds.
During flowering, the plant can double in size and the buds begin to generate resin once 70% of the trichomes are mature and turn brown in color. Now you just have to wait for it to reach the ideal point when the resin turns from crystalline to milky, this will signal the time to harvest.
After manicuring (cutting the leaves) let the plant dry in the shade. The drying process can last from 1 to 3 weeks depending on temperature and humidity. If the buds break easily, they’re ready to enjoy.

